My most recent party was another baby shower but with a very different theme... Alaska! It was for my friend Ashleen. Her and her husband named their baby boy "North". They are very much into hunting and all things outdoorsy.
First the Invitation:
Envelope Front and Back
Invite Front and Back
Close up of the cool font I used for his name, the Welcome sign, and the Guest Book. I think it's called Pinewood.
Okay- So I'll walk you through the house so you can see all the cool aspects of this party.
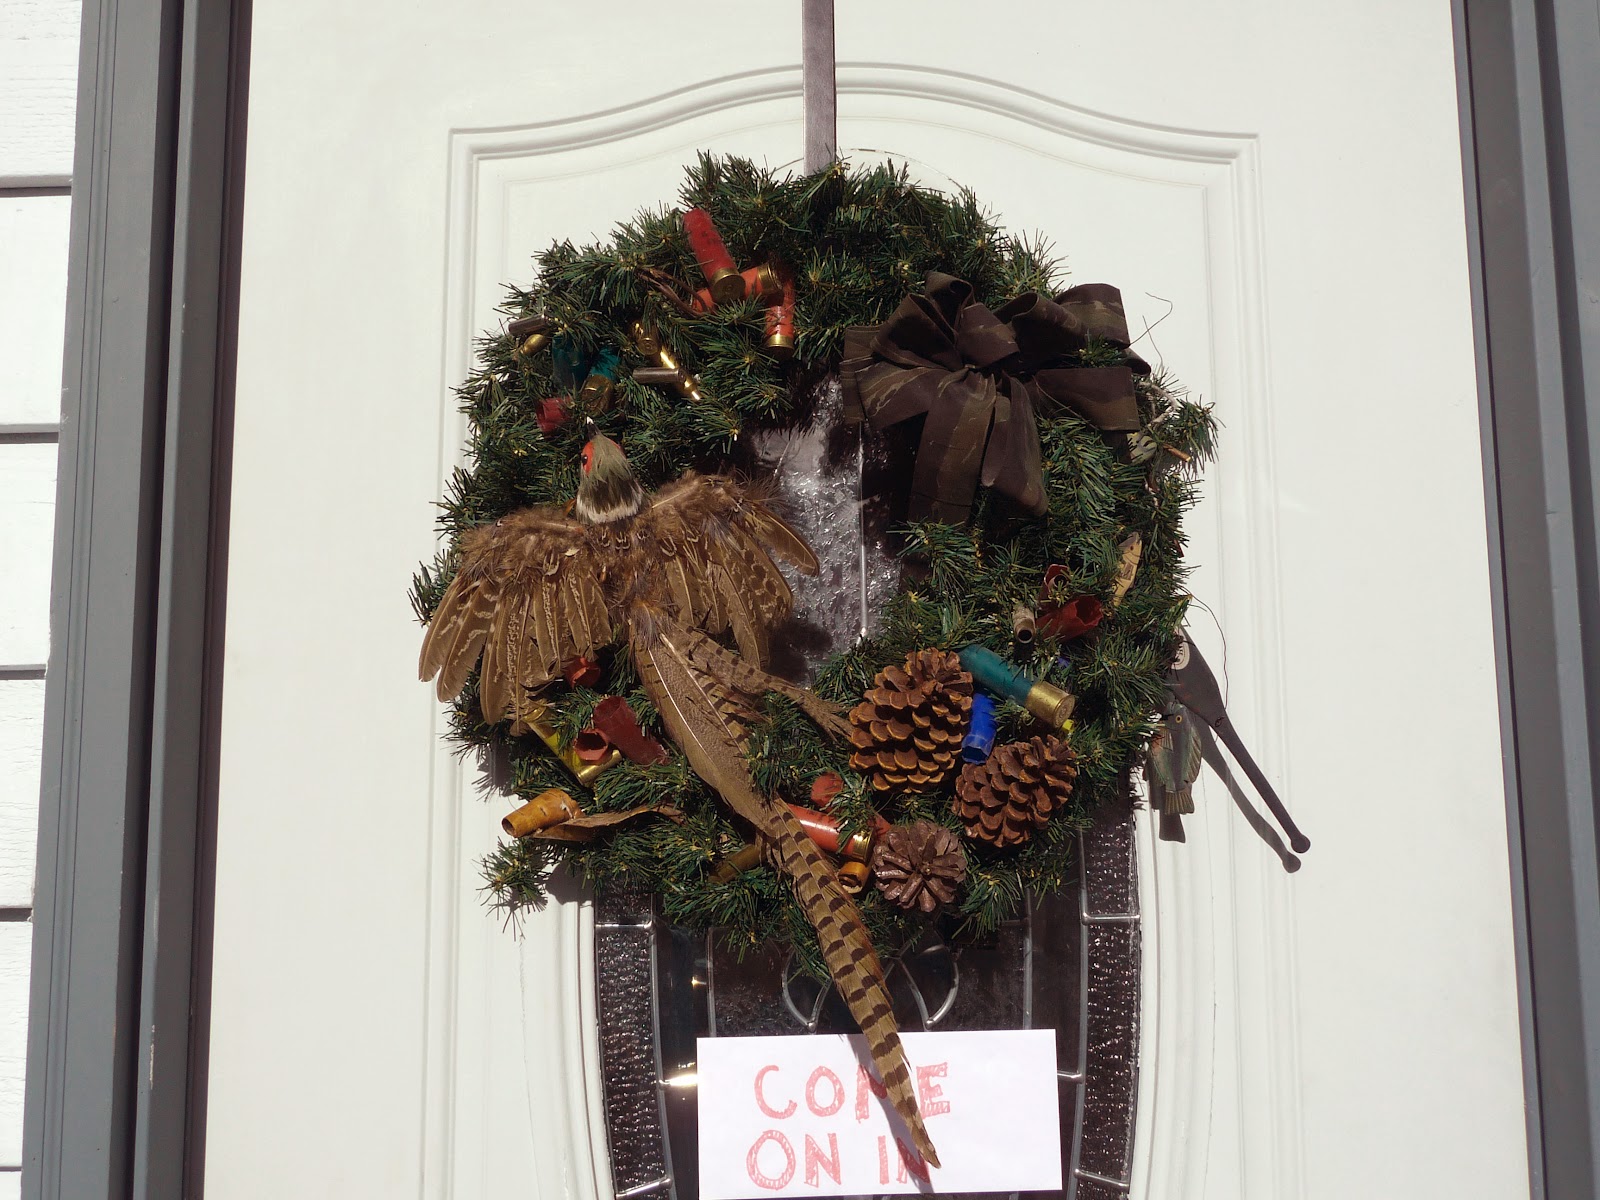
Here's the awesome wreath I put on their front door. My mom actually made this several years ago, but it fit the theme perfectly so I borrowed it. :-)
The Entryway when you walk in the door had a table set up with a camo table runner and a Welcome sign. We have this cool Elk candle holder so I used that and put shotgun shells in it.
I made a Guest Book for people to sign as they walked in.
Here's the Party Favors for people to take as they leave. Trail Mix in a bag with a Thank You bear on the front and a ribbon handle.
Then the banner was hung on the wall going up the stairs. In retrospect I probably wouldn't put it there again... It hardly got looked at because it was so long and in such an up-close space and people skipped right by it on their way up the stairs to the party.
I made the banners with my Cricut and used the Going Places Cartridge and a few images from the Camp Out Cartridge and I used the Moose from the Animal Kingdom Cartridge.
I made some decorative candles covered with paper to look like shotgun shells. I ran a bit of gold cording along the bottom to look like the lip on the shotgun shell and stamped stuff on the sides where they would have the brand and size of shell on them.
Here they are displayed on the mantle with the baby's name banner. The parents absolutely LOVED these! They even bought them from me after it was over because I hadn't planned on including them in the stuff I was gonna just give them. I bought these LED pillar candles from Sam's Club to use in my party business and planned on recovering them to use for several different parties, but they gave me cash so I just went and bought some new ones.
I made some box lanterns with the Cricut and placed 6 of them along the hearth. There are LED tea lights in them shining through the vellum.
Those bags are the game prizes, Beef Jerky and Candy Bars. :-) The other Lanterns were hung on a garland with shotgun shells in between. My husband actually helped me make it!
I love that you can see them glowing!!
So what do you think about the Moose Stork? I cut it out of Vinyl on the Cricut and had to piece it together to get it that big but it turned out great. They absolutely LOVED it!! It was so perfect for them, of course their baby was delivered by a moose instead of a stork! :-)
Whew! This post is shaping up to be a LONG one!!! I'm not even done yet.... Lol!
I brought my Yukon Scentsy Warmer and we had that going during the party.
Along with the vinyl moose I also made a bunch of black bears out of vinyl and we stuck a large mama bear and cub on their sliding glass door and small bears on their dining room light fixture.
Now here's where I kick it up a notch... :-)
Although I wasn't in charge of doing the food I did volunteer to bring cookies and cakes. But that just didn't feel like enough for me. I am such a control freak sometimes that it was hard for me not to be in charge of every aspect of the party, especially food since I like to coordinate everything to the theme of the party. So to compensate for my lack of control I figured I could at least spring for the plates and cups.
I bought a really nice clear set of plates from Sams's Club. But Clear? Seriously? That just won't do.
So I cut out Vinyl and decorated the plates and cups!! We only got pictures of the bear plate, but I had at least 6 different designs on the plates. Bear, Moose, Compass, Pine Trees, Wolf, and something else but I can't remember it. All the cups were just bears.
I made Alaska cookies with the Big Dipper and North Star on them, Baby's name is North and they decorated his Nursery wall with some Vinyl stars in the shape of the Big Dipper and North Star, so I thought it would coordinate well.
This was the first time I got to use the new cake stand I got for my birthday and so I planned a design that would incorporate all three tiers. Again, with the Big Dipper on the bottom tier, the North Star on the middle right tier and Alaska on the upper left tier. I enlisted some help from my friend Melissa with the cake so I didn't actually do them, but I think she did a great job!
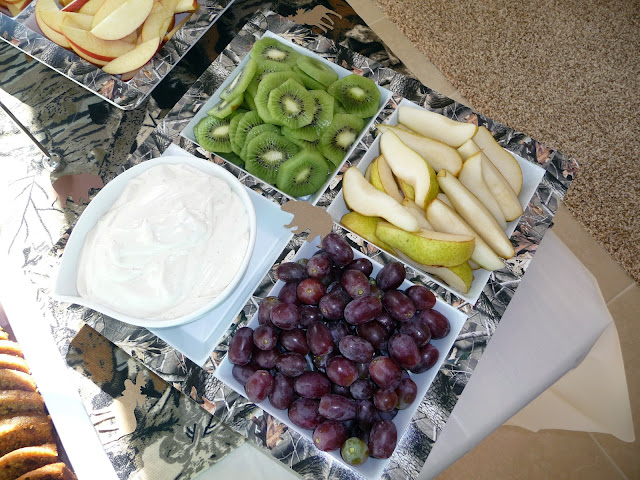
Although it's hard to see, I decorated the edges of my serving platters with Camouflage paper. I guess the camo did it's job, because it blends right in with the table! LOL! :-) I did this with the platters at Melissa's baby shower too but we didn't get any pictures of those ones. I like doing this because it just adds a little something extra, and I love that everything matches!
Lastly, a couple pictures of me and Ashleen. She looks like she liked her party, don't you think?
Um, try to ignore the huge cheesy grin I have, I don't know what I was doing! OH! Did you notice my shirt?? I bought it so I would match the party too!! That's gonna be one of my signature things, wearing something to match my parties!!


